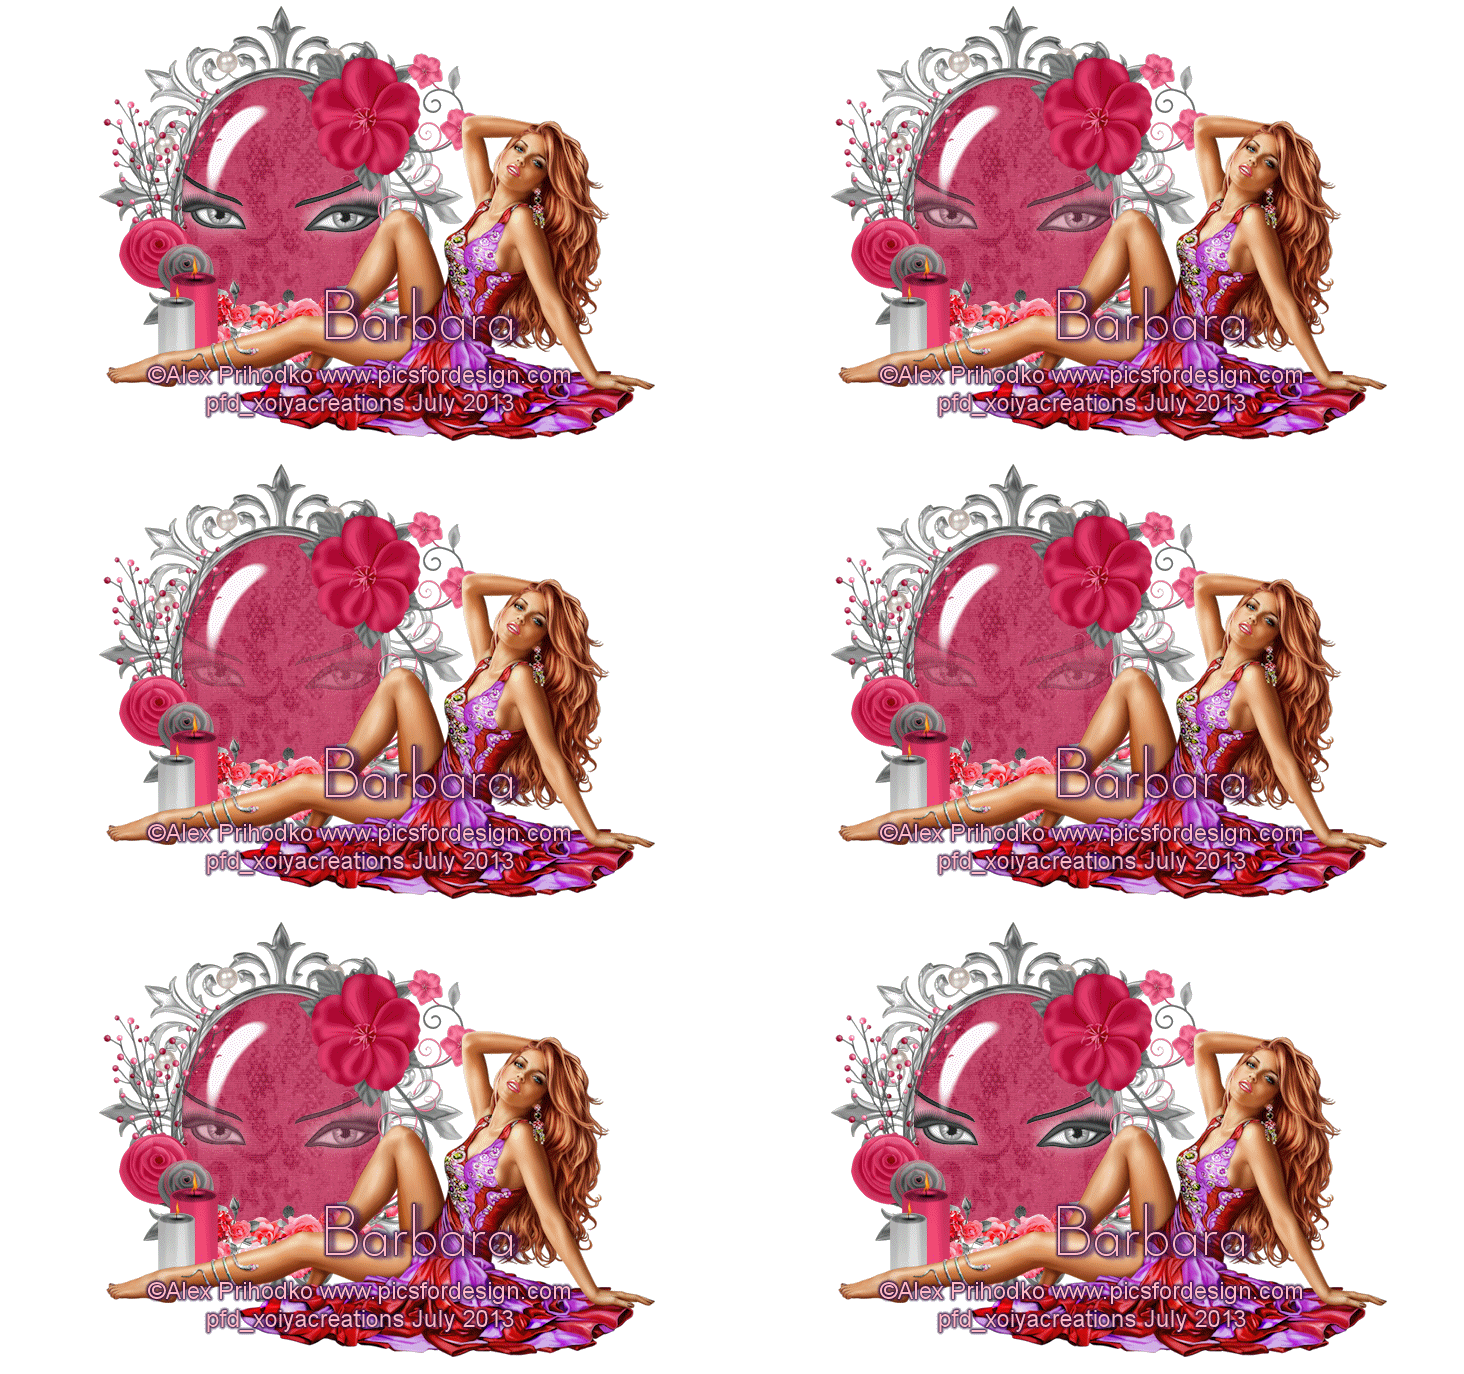
Wednesday, July 31, 2013

Witchy Pooh

Witchy Pooh
©Barbara Butler
July2013


Materials:
Scrap Kit:  WitchyPoo by Rissas Designs can be found Here.
Mask:  WSL323

Instructions:

New canvas 800x600

Paper11:  Copy and paste on to canvas>Load Mask from disk>apply WSL323 mask>merge mask group.

Kitty Witch:  Copy and paste on to canvas.  Resize by 50% and place on the bottom left of the mask.

BatInABox:  Copy and paste on to canvas.  Resize by 50% and place behind the Kitty Witch on the right side of it.

Broom:  Copy and paste on to canvas.  Resize by 65%.  Place behind the Kitty Witch.  Rotate 15 degrees to the left.

Haunted House:  Copy and paste on to canvas.  Place behind the other three elements.

Sign:  Copy and paste on to canvas.  Resize by 65% and place to the right of the other elements.

Spooky Tree:  Copy and paste on to canvas.  Resize by 65% twice.  Place on the right side of the sign.

Witchy Pumpkin:  Copy and paste on to canvas.  Resize by 50%.  Place behind the tree to the left.

Tube:  Copy and paste tube of choice.  I'm using Witchy Pooh by Ismael Rac.  Please do not use without buying the tube and having the proper license to use it.

Finishing Touches:   Add copyright and save as a psp.  Add name(s) crop and resize as needed, save as a png and you are done.

Thank you for taking a look at my tut.  And as always any compliments are greatly appreciated.

Summer Flower

Summer Flower
©Barbara Butler
July2013


Materials:

Scrap Kit:  Sweet Summer Flowers By Baby Dragon can be found Here

Tube:  Tube of choice.  I'm using Dream Girl by Simon Han.  I got her back when pte was open and I'm not sure where you can fine her now.  Please do not use without buying her and having the proper license.


Instructions:

New canvas 800x600

F6: Copy and paste on to canvas. 

P7:  With magic wand click on the inside of the frame.  Expand by 6. Add a new layer and paste paper into selection.  Move layer down in the layer palette.

Ele52:  Copy and paste on to canvas.  Resize by 65% and place in the bottom right hand corner of the frame.  (Make sure you are back on top of the frame).

Ele44:  Copy and paste on to canvas.  Resize by 65% and place behind Ele52.

Ele43:  Copy and paste on to canvas.  Resize by 65% mirror move to right side of frame.  Duplicate>mirror>flip vertical.  Back on the frame click on the inside of the decorative part of the frame>expand by 6>invert>back on the element layers hit delete.

Ele16:  Copy and paste on to canvas.  Send to the bottom.

Ele10:  Copy and paste on to canvas.  Bring to the top.  Resize 65% twice.  Mirror and place in the top right hand corner of the frame.

Ele45:  Copy and paste on to canvas.  Resize by 65% and place on the bottom of the frame.

Ele47:   Copy and paste on to canvas.  Duplicate twice and merge the three together.

Tube:   Back on the paper layer>select all>float>defloat>add a new layer and paste CU of tube into selection.  Duplicate>Gausian Blur 5>Blend Mode Hardlight>Back on original layer change the blend mode to luminance.  Copy and paste main tube on to canvas.  Bring to top and resize by 65% and move to the left a little bit.

Finishing Touches:  Add copyright and save as a pspimage.  Add name.  Crop and resize as needed and save as a png.   You are done.

Thank you for taking a look at my tut. And as always any comments are appreciated.


Pretty Peacock

Pretty Peacock
©Barbara Butler
July2013


Materials:

Scrap Kit:  Pretty Peacock by BLTDesignz can be found Here

Template:  Square Tempate2 by Tina can be found at the Creative Misfits Blog.  Make sure to stay in the tou of artists make sure the temp is at 72DPI.

Tube:  I'm using the artwork of Alex Prihodko you can fine it at PFD.  Please do not use without buying the  tube and having the proper license to use.

Instructions:

Template:  Open and duplicate.  Delete copyright layer.

Black Rectangle:  Select all>float>defloat.  Add new layer and paste PP5 into selection.

Top Rec:  Select all>float>defloat.  Paste PP2 as a new layer invert and hit delete.  Select None.

Bottom Rec:  Repeat the steps above.

Pink Rec1:  Select all>float>defloat.  Paste PP14 as a new layer.  Invert and hit delete.

Pink Rec3:  Repeat the steps above.

Pink Rec2:  Select all>float>defloat.  Paste PP12 as a new layer.  Invert and hit delete.  Select none.  Repeat for Pink Rec4.

Top Square:  Select all>float>defloat.  Paste PP9 as a new layer.  Invert and hit delete.  Repeat for Bottom Square.

Top Frame:  Select all>float>defloat.  PastePP8 as a new layer.  Invert and hit delete.  Select none.  Repeat for Bottom Frame.

PeacockPin2:  Copy and paste on to canvas.  Resize by 50% then by 75%.  Rotate 15 degrees to the left.  Place in the top right corner.

Mask:  Copy and paste on to canvas.  Resize by 45% then by 75%.  Rotate 15 degrees the left.  Place in the bottom corner.

Key:  Copy and paste on to canvas.  Resize by 75%.  Place behind the mask.

Flowers:  Copy and paste on to canvas.  Place behind the mask.

Chandelier:  Copy and paste on to canvas.  Resize 75% twice.  Place in the top left corner behind the elements on the left.

Doodle:  Copy and paste on to canvas.  Resize by 50% twice.  Add a drop shadow of choice or you can use my settings of 5,3,69,17 color 0a0b1a.

Peacock Feather5:  Copy and paste on to canvas.  Resize by 50% then by 75%.  Place behind the Chandelier.

Tube:  Copy and paste on to canvas.  Resize as needed, and place where you want.  Add copyright.

Finishing Touches:  Add name and any embleshiments you want.  Crop and resize as needed.  Save as a png and you are done.

Thank you for taking a look at my tut.  As usual any comments is appreciated.

Sunday, July 28, 2013

Beach Party

Beach Party
©Barbara Butler
July2013

Scrap Kit:Strawberry Beach BY Rissas Designs Here
Elements and Papers Used:
Surfboard and Ball
Milkshake
Net
Beach Chair
Umbrella
Lifesafer
Lighthouse
Beach Sign
Sand
Wave


Open a blank canvas 800X600

Surfboard and Ball:  C&P on to canvas. Resize by 75% and place to the left.

Milkshake:  C&P on to canvas. Resize by 50%.  Place to the right.

Net:  C&P on to canvas.  Resize by 75% place behind the surfboard.  Duplicate merge duplicate down to original.  Duplicate again mirror merge this layer down.  Duplicate one more time.  With the right arrow key move it to the right so the ends meet up.  Merge this layer down.  Repeat the last step.

LightHouse:  C&P on to canvas.  Place on the right side of the net layer.

Lifesafer:  C&P on to canvas.  Resize by 75% twice.  Place behind the Surfboard.

Beachsign:  C&P on to canvas. Place just in front of the net.

ColorPalette: Now I know this isnt an element but I used it anyway.  C&P on to canvas.  Apply an inner bevel of choice (make it look like a beach towel).  Place it on the right side.

Beach Chair:  C&P on to canvas.  Resize by 50% and place in front of the color palette.

BeachBag:  C&P on to canvas.  Resize by 50% then by 75% and place in front of the chair.

Umberella:  C&P on to canvas.  Resize by 75%.  Place behind the other three.

Sand:  C&P on to canvas twice.  Move one over a little bit. Merge the two.  Place behind the other elements.

Wave:  C&P on to canvas.  Place behind others, and to the left.

Tube:  C&P tube of choice.  I'm BeachBall by Pinuptoons which you can fine at CDO.  Please do not use without buying the tube and having the proper license.  Add copyright and save as a psp.

Name:  Add name crop and resize as needed.  Save as a png and you are done.

Thank you for taking a look at my tut.  Hope you enjoyed.  Any compliments is appreciated.

Blue Lagoon

Blue Lagoon:
©Barbara Butler
July2013


Scrap Kit Used:  The Heart of the Ocean by Creative Crazy Scraps can be found Here
Elements and Papers Used:
3
4
5
6
7
17
21
22
24
25
26
28
37
39
P8

New Canvas 800x600
Element23:  Copy and paste on to canvas.

Element3:  Copy and paste on to canvas.  Resize by 65%.  Place on the left side of 23.

Element5:  Copy and paste on to canvas.  Resize by 75%.  Place behind the fish.

Element4:  Copy and paste on to canvas.  Resize by 75% and place behind the turtle and fish.

Element6:  Copy and paste on to canvas.  Resize by 75% and place to the right of the circle.  

Element7:  Copy and paste on to canvas.  Resize by 75%.  Place behind element6.  Free rotate 15 degrees to the right.

Paper8:  Back on the frame layer with your magic wand click on the inside.  Paste the paper as a new layer invert and hit delete.  Select none.  Move layer down.

Element39:  Copy and paste on to canvas.  Bring to the top and place on top of the frame.

Element28:  Copy and paste on to canvas.  Send to the bottom.  Place on the right.  Duplicate and move over to the left.

Element37:  Copy and paste.  Resize by 50%.  Free rotate 15 degrees to the right.  Place between the key and the heart.

Element26:  Copy and paste.  Resize by 85% move to the right.

Element25:  Copy and paste.  Place above the paper layer.  Change the blend to overlay.

Element24:  Copy and paste.  Resize 50% and place beside the word art beside the word The on the bottom.  Duplicate mirror and place on the top right of the word art.  See my tag for placement.

Element17:  Copy and Paste.  Mirror and place with the fish and turtle.

Element21:  Copy and paste.  Resize by 50% place on the top left of the frame.  Duplicate>mirror>move to the right.

Element22:  Copy and paste.  Resize by 50%.  Move up just a little.

Tube:  Copy and paste tube of choice.  I'm using the artwork of Keith Garvey.  Please do not use without buying the tube and having the proper license.  Save as a psp.

Finishing touches:  Add name(s) crop and resize as needed.  Save as a png and you are done.

Thank you for taking a look at my tut.  Hope you enjoyed.  Any comments is appreciated.

Pirates Bounty

Pirates Bounty:
©Barbara Butler
July2013


Materials:

ScrapKit: PirateBooty by BLTDesignz
Elements & Papers Used:
Bottle
Chest
Snake
Ship2
Flower5
PP2
Flower2

Plugins:
MuraMeister Copies:  


New Canvas 800X800

C&P Bottle on to canvas.  Resize by 65% twice.  Plugin Mura Meister Copies with following settings:  Line Random Rotate>8  Random,Wrap around, behind, (the rest remains at default settings).  Resize by 65% again and move down just a little bit.

C&P Treasure Chest on to canvas.  Resize by 65% twice then by 75%.  Place on the left side of the bottles.

C&P Smudge on to Canvas.  Resize by 75% and place behind the other two elements in the layer palette.

C&P Ship2 on to canvas.  Resize by 65% mirror and place behind the treasure chest.

C&P Snake on to canvas.  Resize by 65% twice.  Place between the chest and ship.

C&P Flower5 on to canvas.  Resize by 65% three times.  Place to the right side of the bottle line.

C&P Flower2.  Resize by 65% twice.  Place behind Flower5.

C&P PP2.  Apply Mask of choice. I'm using WSL84.  (If you haven't noticed this one is my favorite).  Merge group.  Add a dropshadow of choice.

C&P Flower4.  Resize by 65% twice.  Place on the top right.  Duplicate resize by 65% again and place on the bottom right of the original.

C&P Flag3.  Place in the top left corner and just above the smudge in the layer palette.

C&P tube of choice.  I'm using Pirate Girl 2 by Keith Garvey.  Please do not use this tube without buying it and having the proper license.  Add copyright and save a psp.

Add name, crop and resize as needed.  Save as a png and you are done.

Thank you for taking a look at my tut.  Hope you enjoyed.  Any comments are appreciated.

Wednesday, July 17, 2013

Strawberry Fields

Strawberry Fields:  Tag Set
©Barbara Butler

Materials:
Scrap Kit:  Time For Strawberries By Quizzy's Scrap Design Here
Template:  BlancheSet by Jackie's Jewels Fantastically Free Blog Train InspiredByVeryMany (These are set at 200DPI please make sure to change it to 72DPI to follow the TOU of The Tube artists). Here
Tube:  Stawberry Kitten by Melissa Dawn.  Can be found at CDO.  Please don't use without having the proper license to use it and buying it.

Remember to save often.
Tag:


Open up Template1>Duplicate>Close Original.  Delete Rasters1&2 and Layer3.

Paper Instructions:
Layer7:  Select All>Float>Defloat.  Open Paper12 Copy close.  Back on canvas paste into selection.    Select none.

Layer9:  With magic wand click on the inside.  Open Paper10 Copy and close.  Back on canvas paste as new layer invert and hit delete unselect.  Repeat for Layer8.   Select none.

Raster3:  With magic click on the inside.  Paste Paper13 as a new layer invert and hit delete.  Select none

Raster4:  With magic wand click on the inside of both rectangles.  Paste Paper14 into selection.  Select none

Layer1:  With magic wand click on the inside.  Paste Paper9 as a new layer invert and hit delete.   Select none.  Repeat for Layer2.

Layer10:  With magic wand click on the inside.  Paste Strawberry2(Paper2) into selection.

Layer11:  Click on the inside with the magic wand.  Contract by 2 Paste Paper3 (Strawberry3) as a new layer invert hit delete. 
Back on the original layer flood fill with a color of choice.  I picked a green from another paper.  Add Noise.

Frames1&2:  Flood Fill with a gradient of choice.  Add an inner bevel of choice.

Layer6:  With magic wand click on the inside.  Paste Paper6 as a new layer invert and hit delete.  Select none.

Layer4&5:  Click on the inside with magic wand.  Paste Strawberry Paper into selection.

Element Instructions:
Strawberry2:  C&P on to working canvas.  Resize by 50% and place on the bottom right.

StrawberryCupcake2:  C&P on to working canvas.  Resize by 45% and place on the bottom left.

Strawberry Element2:  C&P on to working canvas.  Resize by 25% then by 75%.  Mirror and place behind the first element in the layer palette.

Strawberry Icecream:  C&P on to working canvas.  Resize by 25% then by 75%.  Free rotate by 15 degrees to the left.  Place just behind the cupcake.

StrawberryVine:  C&P on to canvas.  Resize by 25% then by 75%.  Place behind the elements on the right.

Strawberry Beetle:  C&P on to canvas.  Resize by 25.  Place behind the elements on the right side just a little.  You want some it to be sticking out.

Skunk2:  C&P on to canvas.  Resize by 35%.  Place in front of the beetle and behind the elements on the right just a little bit.

Strawberry Drink:  C&P on to canvas.  Resize by 35% and place in front of the elements on the left side.

Element Strawberry2:  C&P on to canvas.  Resize by 85% and send it to the bottom.  Place to the left where you can see it over the top a little bit.

Butterflies1&2:  C&P Buttefly1.  Resize by 25%, free rotate 15 degrees to the right, and place just in front of the strawberry vine.  C&P Butterfly Coloured(2) and resize by 20%, free rotate 15 degrees to the left, and place just above the first one.

Tube:  C&P resize if needed.  Add copyright and save as a psp.  If you're using the same tube I'm using check the bottom of the tag to make sure there is nothing hanging below.  If there is take your eraser tool and erase some it if you want.

Add name(s) and save as a png and you are done.

Banner: 

Open FS Banner Template.  Duplicate and close the original.  Delete Rasters 2 and 4.

Raster3:  Click on the inside and paste Strawberry Paper6 as a new layer invert and hit delete.  Select none.

BG:  Select all.  Paste Strawberry Paper6 as a new layer invert and hit delete.  Select none.

Left and Right Circles:  With magic wand click on the inside.  Paste Paper10 as a new layer invert and hit delete.

Raster6 and Copy(2) Of Raster6:  Raster6>Select all>float>defloat> paste Strawberry(Paper) into selection.  Repeat for the other side.

Strawberry Drink:  C&P on to canvas.  Resize by 35% then by 75%.  Mirror and place on the left hand side.

Skunk2:  C&P on to canvas.  Resize by 25% then by 75%.  Place on the right hand side.

Strawberry2:  C&P on to canvas.  Resize by 25% and place just behind the skunk.

StrawberryVine:  C&P on to canvas.  Resize by 25% then by 65%.  Leave in the middle.

Raster14:  Select all>float>defloat paste Strawberry 3(Paper) as a new layer, invert and hit delete.  Select none.  Add an inner bevel and drop shadow of choice.

*You can add any dropshadow or any other elements you would like to the tag if you want.*

Tube:  C&P on to canvas.  Resize as needed.  Add copyright.  Save as a psp.

Avatar:


Open up the avatar template.  Duplicate and close the original.  Delete the copyright layer.

For this just pick your favorite elements and papers to put on it.

Tube:  C&P on to canvas.  Resize as needed.  Add copyright.  Save as a psp.

Add name(s) and save as a png and you are done.

Thank you for taking a look at my tut.

Saturday, July 13, 2013

Soft Kitty

Soft Kitty:
©Barbara Butler
July 12, 2013


Scrap Kit Used:  Soft by Rissa Designs can be found Here
Mask:  WSL084
Tube:  Floral by Anna Liwanag.  I got this tube back when pte was opened but I do believe you can fine it at CDO now.  Please do not use without buying it and having the proper license for it.

Lets Begin

New canvas 800X600

Paper4:  Copy and paste it over onto the working canvas.

Lights2:  Copy and paste it over onto the working canvas.  Resize 75% and place to the right.

Sign:  Copy and paste onto to working canvas and resize 75%.  Place in front of the light and move it up just a little.  With your eraser tool erase just the top left part of the sign so it looks like part of the Lights.

Flowers:  Copy and paste onto canvas and resize by 65%.  Mirror and place on the left.

Clock:  Copy and paste.  In the layer palette move it down to just above the mask layer.  Change the blend mode to overlay.

Buttefly Scatter:  Copy and paste onto the canvas.  Resize by 65% and move to the bottom and above the other elements.

Cat1:  Copy and Paste onto canvas.  Resize by 65% and place in front of the SIgn.

Bird1:  Copy and Paste onto canvas.  Resize by 65% twice.  Place in front of the flowers.

Bike:  Copy and Paste onto canvas.  Resize by 65% and place behind the cat.

Tube:  Copy and paste tube of choice.  Resize as needed.  Add copyright and save as a psp image.

Add name(s) resize as needed and save as a png and you are done.  

Thank you for taking a look at my tut.

Tuesday, July 2, 2013

Rosa-Animated

Rosa
©Barbara Butler
July 2013


Scrap Kit:  Rosa by Amy Marie can be found Here

This tut was written for those with working knowledge of both PSP Animation Shop.
Lets Begin:
New Canvas 800X600 72DPI.  Remember to save often.

Element3:  C&P on to canvas.  Resize by 50% place on the left hand side.  (See my tag for placement).

Element2:  C&P on to canvas.  Resize by 50% then by 75% and place to the right of the first flower.

Element4:  C&P on to canvas.  Resize by 75% and place behind the two flowers.  Free rotate 15 degrees to the left.  Duplicate and mirror (depending on the version of PSP you are using you might need to move the duplicate over a little).
Merge these three elements together.

Element40:  C&P on to canvas, and move below the other elements in the layer palette and move just to the right of them.  With your lasso tool:  Point to Point feather and smoothing set at 0 and nothing checked go around the inside circle. 
Open PP1 and copy.  Back on working canvas and paste as a new layer underneath.  Invert the selection and hit delete.  Invert it again and do not unselect it. 
Open Element 32 and copy close it.  Then back on working canvas paste as a new layer.  Resize by 75% then by 85% so it looks like it is in the frame.  Unselect.

Back on the paper layer select all float defloat and invert.  Back on the merge layer hit delete.  And if any of the Eyes are hanging over hit delete on that as well. 

Element14:  C&P on to canvas.  Resize by 75% and place on the top right of the frame.  With the eraser tool erase the little bit that hangs over the eye.

Element72:  C&P on to canvas.  Resize by 50% and place on the bottom of the frame.

Elements87&88:  C&P Element87 on to the canvas and resize by 50% then by 75% two times.  Place to the right of Element72.  C&P Element88 and resize by 50% twice and place to the right of the other candle.  Move both candles to the left hand side.

Tube:  (I'm using the Margarita by Alex Prihodko you can get her over at PFD.  Please do not use without buying her and having the proper license to use her).  C&P on to canvas.  Resize to the size you want I did it by 50% then by 75%.  Add copyright and save as psp. 

Now we're going to animate this tag so crop and resize as needed before you move everything over to animation shop.


Animation:
  Close off all the layers but the eyes.  Copy merge and paste as a new animation over AS.

In AS go to effects and use Insert Image Transition.  You're going to want the fade effect.  Play around with the settings to get the right one that you want.  Select all copy and paste after current frame.  Reverse Frame.

Now back in PSP close the eyes and open the paper.  Copy merge and paste as a new animation in AS.  Now you're going to want to have the same amount of frames for this one as you do for the eyes so go to Animation>Insert Frame> the number of frames is going to be set to one less then the amount of frames you have and the insert before frame is going to be 2.  Frame delay is at 10 for now.  Carry forward is checked.  And hit okay and you should have the right amount of frames.

Now back on the eye animation select all and copy.  Back on the paper Select all (make sure propagate paste is selecte) and paste the eyes into selected frame.  Move it around until the eyes are centered in the paper. 

Back in PSP close off the paper and open the other elements above it.  Merge visible and copy merge.  Paste as new animation over in AS.  Now hit copy and paste it into frame on the papers and eye animation.

Now close this layer off and open up the tube.  And repeat the same steps as before to get over in AS.  Do this with the copyright too.

Now save this as an mng

Back in PSP add name(s) add any embelishments to the name that you want.  Convert to raster and move it over to AS.  then paste on the tag.

Now when you go to save it as gif you're going to want a background for it or it will get all distorted.  So go up to animation>animation properties>Opaque and set the color to white.


Thank you for taking a look at my tut.  Make sure you upload to photosharing site before you post your results anywhere.

Monday, July 1, 2013

Dragon Fly

Dragon Fly
©Barbara Butler


Scrap Kit:  On Dragonfly Wings Amy Marie can be found Here


New Canvas 800X600 72DPI.
Remember to save often.

Element35: C&P onto canvas and place to the left.

Element71: C&P onto canvas.  Resize 50% and on the bottom left of the mirror.

Element9:  C&P onto canvas. Place on the bottom right of the mirror and in the layer palette move below the book. 

Element8:  C&P onto canvas.  Move down and move behind the book.

Element136:  C&P on to canvas.  Place to the right of the mirror.  And in the layer palette move down behind the mirror layer.

Element107:  C&P on to canvas.  Move up above the mirror in the layer palette.

Element79:  C&P on to canvas.  Move up above the lamp in the layer palette and place in front of it.

Tube:  I'm Using Violet by Rachael Tallamy you can fine it at Up Your Art.  Resize as needed.  (Now this tube looked like it was leaning on something so I use Element85 from the kit and resized it and placed it behind her and to the right so it looks like she is leaning on them.  But if you dont use this tube then you dont need to add the pillows unless you want to).  Add copyright info.  Please don't use this tube without having the proper license to use it and purchasing the tube.  Save as a PSP.


Finishing Touches:  Add name(s) and any embelishments that you want.  Resize as needed, save as a png and you are done.

Thank you for taking a look at my tut.